Database Migration and Seed
Run php artisan migrate to migrate database
Run php artisan db:seed to seed database
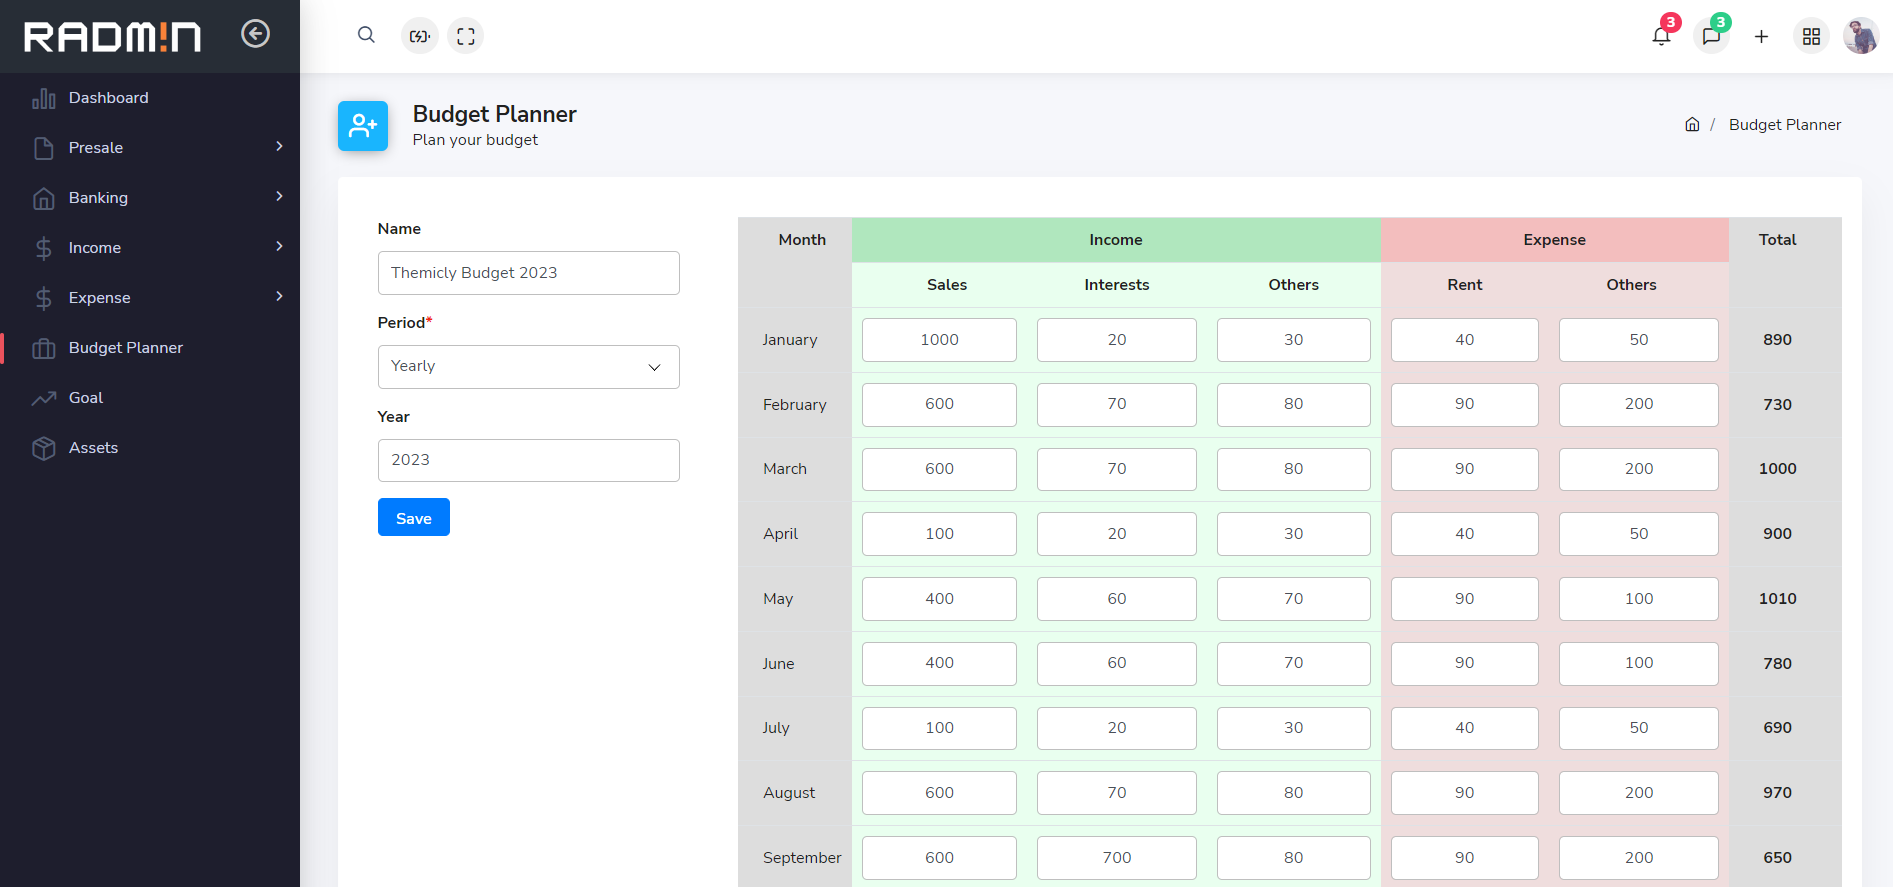
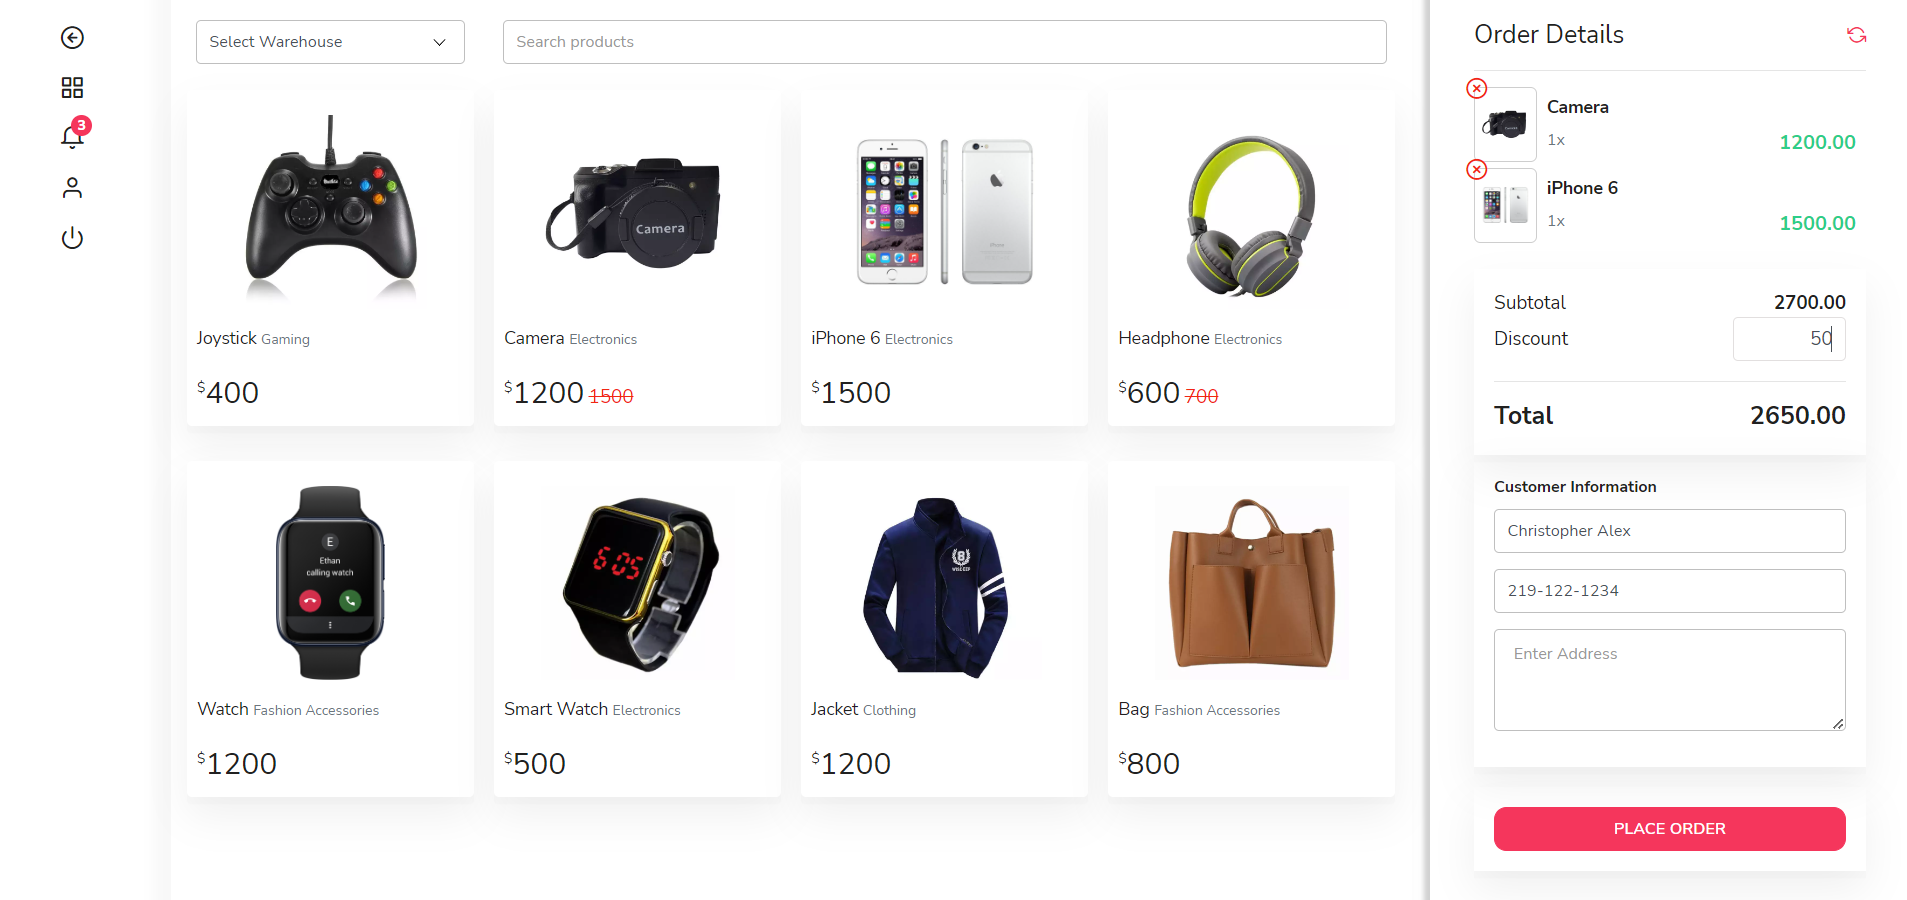
Radmin introduces Accounting and Billing UI from v3.5.0. The added Accounting and Billing UI provides a more comprehensive view of your finances, including presale, bank, bill, invoices, revenue, payment, budget control, goal, and assets. The update also includes fixed button positions for Add Product, Add Sale, and Add Purchase, improved UI for the categories page with mock data, and an improved interactive UI for the POS page. These changes are designed to enhance the user experience and streamline financial operations.
Create a database in phpmyadmin. Open .env file and change following credentials
DB_DATABASE=your_database_name
DB_USERNAME=your_database_user
DB_PASSWORD=your_database_password
Don't forget to import database.sql file which is located in projects database folder or manually create a user in users table and assign Super Admin role. Super Admin role can access all the premissions.
Run php artisan migrate to migrate database
Run php artisan db:seed to seed database
Laravel Mix is a fluent API for defining webpack build steps for your Laravel application using several common CSS and JavaScript pre-processors. To initialize Laravel Mix
// Install Node.js
npm install

// Run all Mix tasks...
npm run dev

// Run all Mix tasks and minify output...
npm run prod
Add css in webpack.mix.js styles array
mix.styles([
    'public/plugins/bootstrap/dist/css/bootstrap.min.css',
    .......................................
], 'public/all.css');
Add js in webpack.mix.js scripts array
mix.scripts([
    'public/src/js/vendor/modernizr-2.8.3.min.js',
    .......................................
], 'public/all.js');
Running Laravel inside Docker, please make sure you have installed docker.
This feature is only available from laravel v3.4.0
cp .env.docker.example .env
cp docker-conf/php/local.example docker-conf/php/Dockerfile
cp docker-compose.yml.example docker-compose.ymldocker compose builddocker-compose up -ddocker compose exec php php artisan migrate:refresh --seeddocker compose exec php php artisan migrate --seedMain layout structure located in resources/views/layouts/main.blade.php
<!doctype html>
<html lang="{{ str_replace('_', '-', app()->getLocale()) }}" >
<head>
	<!-- initiate head with meta tags, css and script -->
	@include('include.head')
</head>
<body id="app">
    <div class="wrapper">
    	<!-- initiate header-->
    	@include('include.header')
    	<div class="page-wrap">
	    	<!-- initiate sidebar-->
	    	@include('include.sidebar')
	    	<div class="main-content">
	    		<!-- yeild contents here -->
	    		@yield('content')
	    	</div>
	    	<!-- initiate chat section-->
	    	@include('include.chat')
	    	<!-- initiate footer section-->
	    	@include('include.footer')
    	</div>
    </div>
	<!-- initiate modal menu section-->
	@include('include.modalmenu')
	<!-- initiate scripts-->
	@include('include.script')
</body>
</html>This is a common blank page structure.
@extends('layouts.main')

@section('content')
    <!-- push external head elements to head -->
    @push('head')
        <title>Page title | Site title</title>
        <!-- add some inline style or css file if any -->
        <link rel="stylesheet" href="{{ asset('file-path')}}">
        <style type="text/css">
        	/* inline css
        </style>
    @endpush
    <div class="container-fluid">
    	<!-- page contents here -->
    </div>
    <!-- push external js if any -->
    @push('script')
        <script src="{{ asset('script-path') }}"></script>
    @endpush
@endsectionThe REST API is built using Laravel Passport, a package that provides secure authentication for Laravel applications. The API follows a low-level HTTP-based CRUD (Create, Read, Update, Delete) approach for handling data
API documentation will be found here. and Postman collection here
After successful login, an access_token will be provided to user. This token will be used for further requests.
Access token will be like,
eyJ0eXAiOiJKV1QiLCJhbGciOiJIUzI1NiJ9.eyJpc3MiOiJodHRwczpcL1wvd29ya3N1aXRlLmRldlwvYXBpXC92MVwvYXV0aFwvbG9naW4iLCJpYXQiOjE1ODAyODA3MjksImV4cCI6MTYxMTkwMzEyOCwibmJmIjoxNTgwMjgwNzI5LCJqdGkiOiJBYXE1QkdnT0p1dG1ycUdIIiwic3ViIjoxLCJwcnYiOiI4MThmNWM5OGFjZTIzNzUzMmQ5ZDQ5NDNmZDhlZmI1NDBiODU1YjQyIiwicmVtZW1iZXIiOjEsInR5cGUiOjF9.wK4OhcwUWa9uwFboqkZCOznjnRnjU19yzoCGCKIZUY0
Set Authorization header to connect API in request header
'headers' => [
    'Accept' => 'application/json',
    'Authorization' => 'Bearer eyJ0eXAiOiJKV1QiLCJhbGciOiJIUzI1NiJ9.eyJpc3MiOiJodHRwczpcL1wvd29ya3N1aXRlLmRldlwvYXBpXC92MVwvYXV0aFwvbG9naW4iLCJpYXQiOjE1ODAyODA3MjksImV4cCI6MTYxMTkwMzEyOCwibmJmIjoxNTgwMjgwNzI5LCJqdGkiOiJBYXE1QkdnT0p1dG1ycUdIIiwic3ViIjoxLCJwcnYiOiI4MThmNWM5OGFjZTIzNzUzMmQ5ZDQ5NDNmZDhlZmI1NDBiODU1YjQyIiwicmVtZW1iZXIiOjEsInR5cGUiOjF9.wK4OhcwUWa9uwFboqkZCOznjnRnjU19yzoCGCKIZUY0',
],
Authorization value must follow bearer token structure
Bearer access_token
| Method | URl | Parameters |
|---|---|---|
| POST | /oauth/token | |
| POST | /api/v1/login | |
| GET | /api/v1/profile | |
| POST | /api/v1/change-password | |
| POST | /api/v1/update-profile | |
| GET | /api/v1/logout | |
| GET | /api/v1/users | |
| POST | /api/v1/user/create | |
| GET | /api/v1/user/{id} | |
| GET | /api/v1/user/delete/{id} | |
| POST | /api/v1/user/change-role/{id} | |
| GET | /api/v1/roles | |
| POST | /api/v1/role/create | |
| GET | /api/v1/role/{id} | |
| GET | /api/v1/role/delete/{id} | |
| POST | /api/v1/role/change-permission/{id} | |
| GET | /api/v1/permissions | |
| POST | /api/v1/permission/create | |
| GET | /api/v1/permission/{id} | |
| GET | /api/v1/permission/delete/{id} | |
In this template, I create some users with different roles and permission. Lets see, how to apply this permissions in any where
//only those have permission_name permission will get access

Route::group(['middleware' => 'can:permission_name1|permission_name2'], function(){
    //route here
})Route::get('route-elements')->middleware('can:permission_name1|permission_name2');
Route::get('route-elements')->middleware('can:permission_name');@can('permission_name')
content here
@endcanNote: as Super Admin role has all the permissions. Add selected Super Admin in app/provider/AuthServiceProvider.php .
Gate::before(function ($user, $ability) {
    return $user->hasRole('Super Admin') ? true : null; //if change name
});
For more tutorials about roles and permissions you can visit here
Cell edit plugin allows cells within a DataTable to be editable. When a cell is click on, an input field will appear. When focus is lost on the input and the underlying DataTable object will be updated and the table will be redrawn. The new value is passed to a callback function, along with it's row, allowing for easy server-side data updates.

                                        var dTable = $('#table_name').DataTable({});
dTable.MakeCellsEditable({
    "onUpdate": callFunction, //call function to update in backend
    "inputCss":'form-control',
    "columns": [0], // define column numbers to be editable
    "confirmationButton": { // could also be true
        "confirmCss": 'btn btn-success',
        "cancelCss": 'btn btn-danger'
    },
    "inputTypes": [
        {
            "column": 0,
            "type": "text",
            "options": null
        }
        // set column properties if add a new one

    ]
});

// update function

function callFunction(updatedCell, updatedRow, oldValue) {
    //do anything
}
Check out Radmin - a Laravel starter kit REST API, Advanced user, roles & permission management , Serverside Datatable, Datatable Edit and Export( CSV, EXCEL, PRINT, PDF, COPY), Cache Management, XSS protection with advanced form elements, chat wizard, charts, widgets and 30+ other glamorous plugins. .
Kikstar with Radmin to boost your development..
View Demo